Halloween Witch Hat Cookies
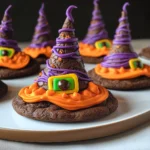
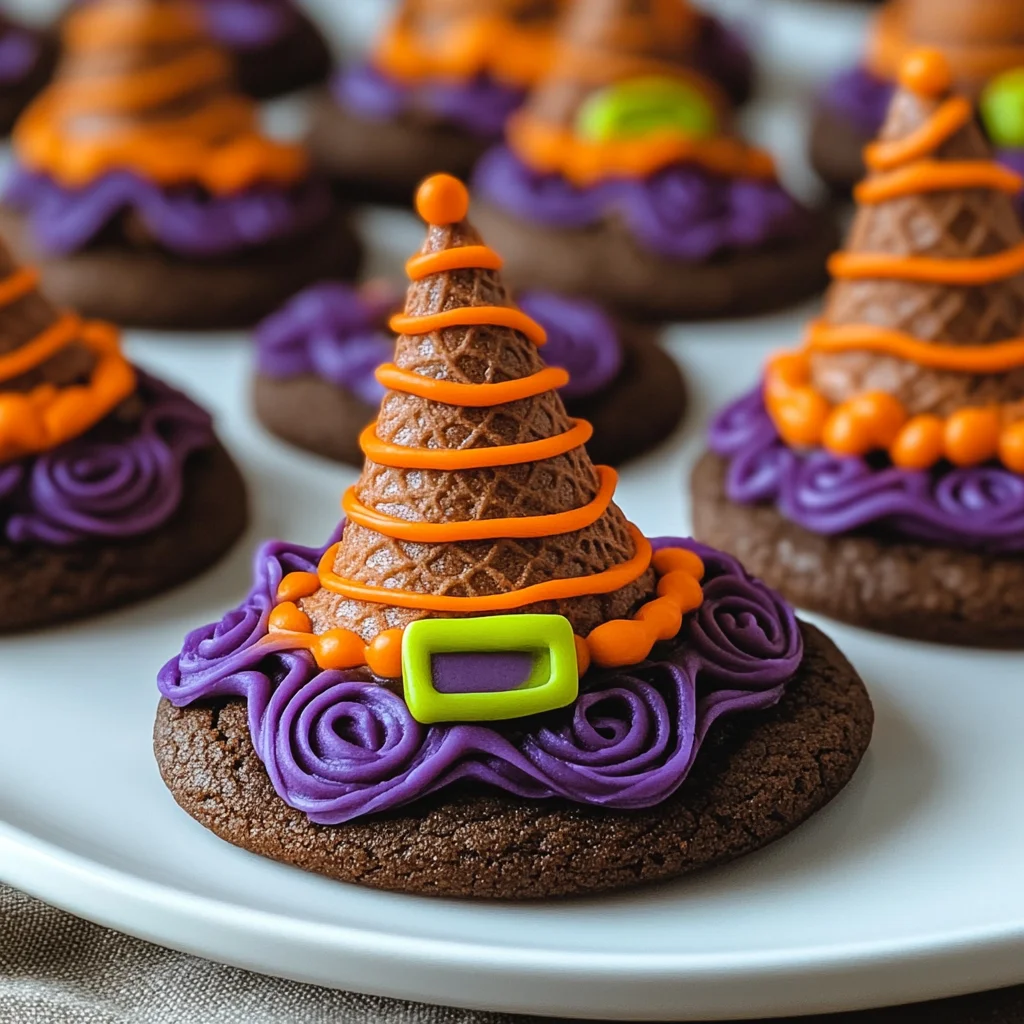
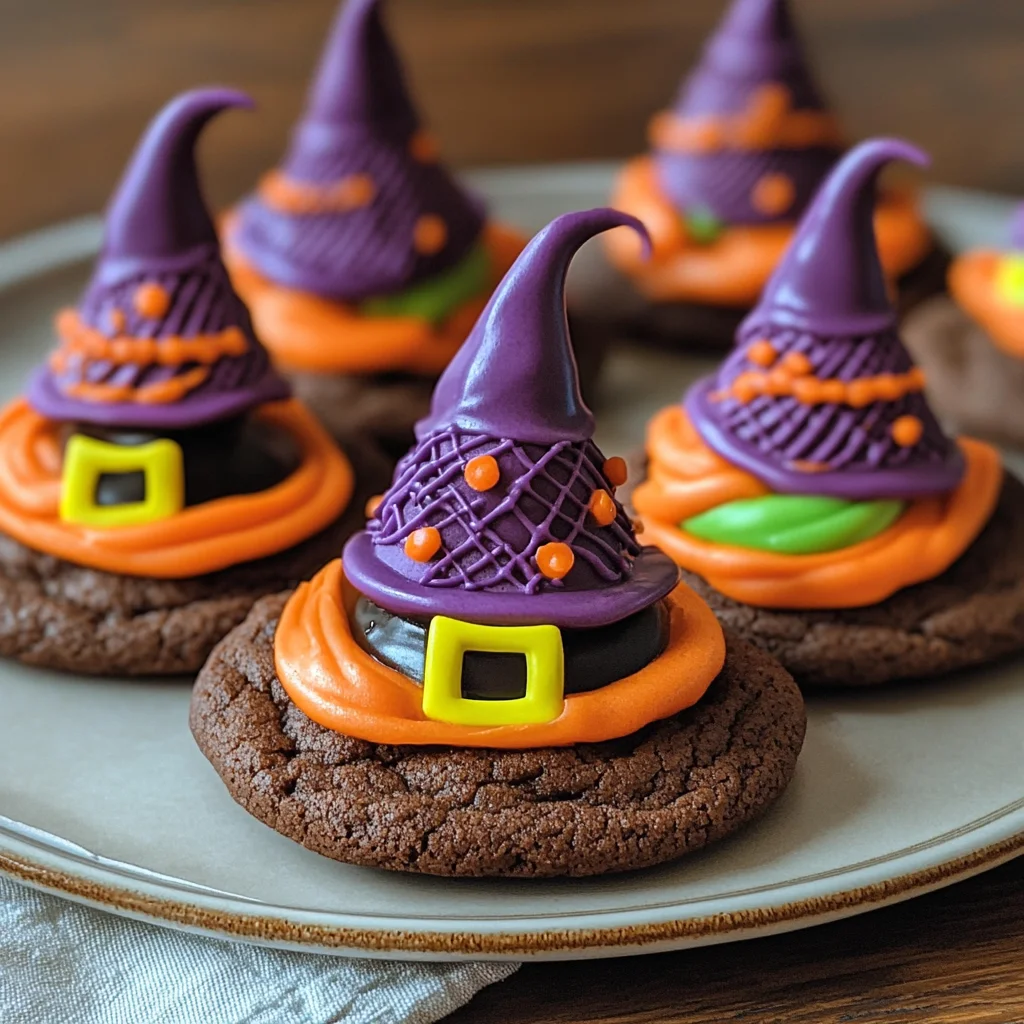
These Halloween Witch Hat Cookies are the perfect treat to impress your Halloween party guests. A delightful project to do with the kids, these chocolaty cookies are fun to customize and are sure to be a hit with ghouls and goblins at any occasion.
Why You’ll Love This Recipe
- Fun for Kids: This recipe is a great way to engage children in baking, allowing them to decorate their own witch hats.
- Customizable: With a variety of icing colors, everyone can create unique designs that suit their spooky style.
- Easy to Follow: The steps are straightforward, making it simple for even novice bakers to create these festive treats.
- Festive Presentation: These cookies not only taste great but also look fantastic on any Halloween dessert table.
Tools and Preparation
Before diving into the fun of making Halloween Witch Hat Cookies, gather your tools and prepare for a delightful baking experience.
Essential Tools and Equipment
- Cupcake Cones Baking Rack
- Cookie Sheet
- Parchment Paper
- Decorating Bags with Tips
- Mixing Bowls
Importance of Each Tool
- Cupcake Cones Baking Rack: This tool helps hold the sugar cones upright while baking, ensuring even cooking and perfect shape.
- Decorating Bags with Tips: These allow for precise icing application, helping you achieve intricate designs on your cookies.
Ingredients
For the Cookies
- Favorite Cake Mix or Try Wilton’s Chocolate Cake Recipe
- Store Bought Chocolate Cookies or Try This Recipe from Wilton
For the Icing
- Lemon Yellow Icing Color
- Black Color Mist Food Coloring Spray
- Rose Icing Colors Pink Food Coloring
- Violet Icing Color, Gel Food Coloring
- Golden Yellow Icing Color
- Orange Icing Color
- Creamy White Decorator Icing, 4 lb. Tub
For Assembly
- Sugar Cones
How to Make Halloween Witch Hat Cookies
Step 1: Prepare & Bake the Cones
- Prepare the cake mix following the instructions from your chosen recipe.
- Place the Cupcake Cones Baking Rack on a cookie sheet.
- Insert the sugar cones into the rack.
- Fill each cone with 2 tablespoons of cake batter.
- Bake and cool the cones according to your recipe’s timing instructions.
Step 2: Spray the Cones
- If necessary, trim any risen cake at the top of each cone using a knife.
- Place the cones wide side down on parchment paper.
- Using Black Color Mist, spray each cone until fully coated.
- Allow them to dry for about 10 to 15 minutes.
Step 3: Tint the Icing & Prepare the Bags
- Tint 1 cup of creamy white decorator icing orange.
- Combine violet and rose icing colors to tint another cup purple.
- Prepare two decorating bags with tip 2B; fill one with orange icing and one with purple icing.
- Tint ¼ cup of creamy white decorator icing yellow by mixing golden yellow and lemon yellow icing colors; place this in a bag with tip 3 attached.
Step 4: Assemble the Witch Hats
- Using orange icing, pipe a small amount in the center of each cookie and place a cone on top.
- Pipe a band around half of the cones using smooth-side-out tip on purple icing; use a spatula for smoothing.
- Repeat this step on the other half with purple icing.
- Let them set for about 15 to 20 minutes.
- Finally, use yellow-tinted icing with tip 3 attached to pipe a buckle around each hat’s band.
- Allow them to set for another 15 to 20 minutes before enjoying!
How to Serve Halloween Witch Hat Cookies
These playful Halloween Witch Hat Cookies are a delightful treat that can be served in various fun ways. Whether you’re hosting a Halloween party or enjoying a spooky movie night, these cookies will surely impress your guests.
On a Festive Platter
- Arrange the cookies on a colorful platter decorated with Halloween-themed accessories like mini pumpkins and fake spiders. This creates an eye-catching centerpiece.
With Themed Drinks
- Pair the cookies with themed beverages such as pumpkin spice lattes or apple cider to enhance the festive mood. Use fun cups or glasses to match the Halloween spirit.
As Party Favors
- Place individual cookies in clear bags tied with orange or black ribbons. These make great party favors for guests to take home after your celebration.
At a Halloween Bake Sale
- Sell these witch hat cookies at a local bake sale. Their unique design and taste will attract more buyers, making them a popular item among sweet treats.
How to Perfect Halloween Witch Hat Cookies
Perfecting your Halloween Witch Hat Cookies is all about attention to detail and practice. Follow these simple tips to ensure your cookies turn out great every time!
-
Choose Quality Ingredients – Using high-quality cake mix and icing can significantly enhance the flavor and appearance of your cookies.
-
Be Precise with Icing – For neat edges and designs, pipe icing slowly and steadily. This helps create professional-looking decorations.
-
Let Cones Cool Completely – Ensure that sugar cones cool down fully before decorating. This prevents the icing from melting off due to heat.
-
Experiment with Colors – Don’t hesitate to mix different shades of icing for unique designs. Customizing colors can add personality to your treats.
Best Side Dishes for Halloween Witch Hat Cookies
To complement your Halloween Witch Hat Cookies, consider serving them alongside some spooky side dishes that will delight guests of all ages.
- Pumpkin Soup – A creamy and flavorful soup that sets the perfect fall tone for your gathering.
- Spooky Veggie Platter – Arrange vegetables in ghost shapes using dips like hummus or ranch for added fun.
- Monster Fruit Salad – Combine seasonal fruits like oranges, apples, and berries in a vibrant salad topped with spooky edible eyes.
- Witch’s Brew Punch – A refreshing non-alcoholic punch made with fruit juices and sparkling water, garnished with floating fruit slices.
- Cheesy Ghost Breadsticks – Serve warm breadsticks shaped like ghosts, melted cheese forming their faces for an exciting twist.
- Mummy Meatballs – Create meatballs wrapped in crescent roll dough resembling mummies, served with marinara sauce for dipping.
- Creepy Crawly Pasta Salad – A pasta salad mixed with veggies shaped like creepy crawlies; add olives or cheese to create “bugs.”
- Halloween Nachos – Top tortilla chips with cheese, salsa, and jalapeños arranged artfully to look like a haunted scene!
Common Mistakes to Avoid
Making Halloween Witch Hat Cookies can be a delightful experience, but there are common pitfalls to watch out for.
- Bold baking time: Not following the recommended baking times can lead to undercooked or burnt cones. Always keep an eye on your timer and check for doneness.
- Bold icing consistency: Using icing that is too runny or too thick can ruin the decorating process. Aim for a smooth but firm consistency to pipe easily.
- Bold incorrect cone placement: Placing the sugar cones incorrectly on the cookies can make them unstable. Ensure they are centered and securely attached with icing.
- Bold neglecting drying time: Skipping the drying time causes decorations to smudge. Allow each layer of icing to dry completely before adding more details.
- Bold forgetting to customize: Not personalizing your cookies can make them less festive. Use various colors and designs to bring your witch hats to life!
Storage & Reheating Instructions
Refrigerator Storage
- Store in an airtight container for up to 5 days.
- Keep cookies layered between parchment paper to avoid sticking.
Freezing Halloween Witch Hat Cookies
- Freeze in a single layer on a baking sheet first, then transfer to an airtight container.
- They will last for up to 3 months in the freezer.
Reheating Halloween Witch Hat Cookies
- Oven: Preheat oven to 350°F (175°C) and warm cookies for about 5-7 minutes until just heated through.
- Microwave: Heat individually for about 10-15 seconds on medium power; be cautious not to overheat as they may become tough.
- Stovetop: Place in a skillet over low heat, cover, and warm for about 2-3 minutes.
Frequently Asked Questions
Here are some common questions about making Halloween Witch Hat Cookies.
Can I use any cake mix for Halloween Witch Hat Cookies?
Yes, you can use your favorite cake mix or opt for homemade recipes like Wilton’s Chocolate Cake Recipe.
How do I achieve vibrant colors for icing?
Use gel food coloring as it provides richer colors compared to liquid options. Mix thoroughly until you reach the desired shade.
What if I don’t have sugar cones?
You can substitute with other types of cones or even create ‘hats’ from fondant or marzipan, though the texture will differ.
How do I store leftover cookies?
Store any leftovers in an airtight container at room temperature or refrigerate them for longer freshness.
Final Thoughts
These Halloween Witch Hat Cookies are not only fun to make but also offer endless customization options. Feel free to get creative with colors, shapes, and decorations. Perfect for parties or family gatherings, they’re sure to delight everyone who sees (or tastes) them!
Halloween Witch Hat Cookies
Create spooky fun with Halloween Witch Hat Cookies! This easy recipe is perfect for parties or family fun – try it today!
- Prep Time: 30 minutes
- Cook Time: 15 minutes
- Total Time: 45 minutes
- Yield: Makes approximately 12 cookies
- Category: Dessert
- Method: Baking
- Cuisine: American
Ingredients
- Favorite cake mix or store-bought chocolate cookies
- Sugar cones
- Creamy white decorator icing
- Gel food coloring (orange, black, purple, yellow)
- Decorating bags with tips
Instructions
- Prepare cake mix according to package instructions or use your favorite chocolate cookie recipe.
- Fill sugar cones with 2 tablespoons of batter and bake on a cupcake cones rack until fully cooked. Allow cooling.
- Spray cooled cones with black color mist and let dry.
- Tint icing in various colors and fill decorating bags.
- Assemble cookies by piping icing on cookies and attaching cones. Use colored icing for decorative bands and buckles.
- Allow to set before serving.
Nutrition
- Serving Size: 1 serving
- Calories: 150
- Sugar: 12g
- Sodium: 95mg
- Fat: 6g
- Saturated Fat: 3g
- Unsaturated Fat: 2g
- Trans Fat: 0g
- Carbohydrates: 22g
- Fiber: 1g
- Protein: 2g
- Cholesterol: 15mg

